A Beginner’s Journey into the Art of Henna
Mehndi, the ancient art of applying henna, is a beautiful way to express creativity and celebrate tradition. If you’ve ever admired intricate mehndi designs and thought, “I could never do that,” this guide is for you.
Everyone starts somewhere. With a few simple patterns and regular practice, you can create elegant and beautiful henna designs right at home.
In this guide, we’ll explore easy mehndi designs, beginner tips, and everything you need to start your mehndi journey with confidence.
Getting Started: What You’ll Need
Before you begin drawing, it’s important to have the right tools. The good news? You don’t need much.
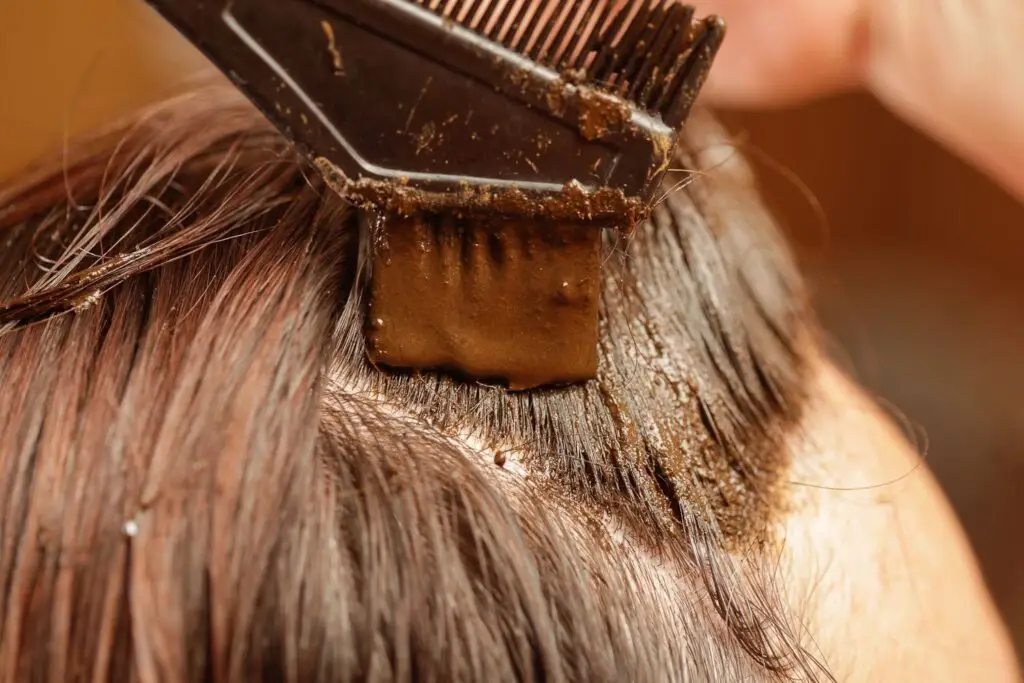
- Henna Cone
Your most essential tool. Choose a fresh, natural henna cone with a fine tip for better control and smooth lines. - Practice Surface
Start on paper, plastic sheets, or a practice pad before applying henna on skin. This helps build confidence. - Aftercare Supplies
A simple lemon juice and sugar mixture (applied after the paste dries) helps deepen the stain. Keep cotton balls or tissues handy.
First Steps: Building Your Confidence
Great mehndi doesn’t start on your hand—it starts with practice.
1. Practice on Paper First
Hold the henna cone like a pen. Practice basic elements such as:
- Dots
- Straight and curved lines
- Teardrops
- Small petals
These simple strokes help build muscle memory.
2. Learn Pressure Control
Light pressure creates thin, delicate lines.
Firm pressure releases more paste for bold strokes.
Learning this balance is key to neat designs.
Simple Mehndi Design Styles to Try
As a beginner, focus on mastering a few core styles first.
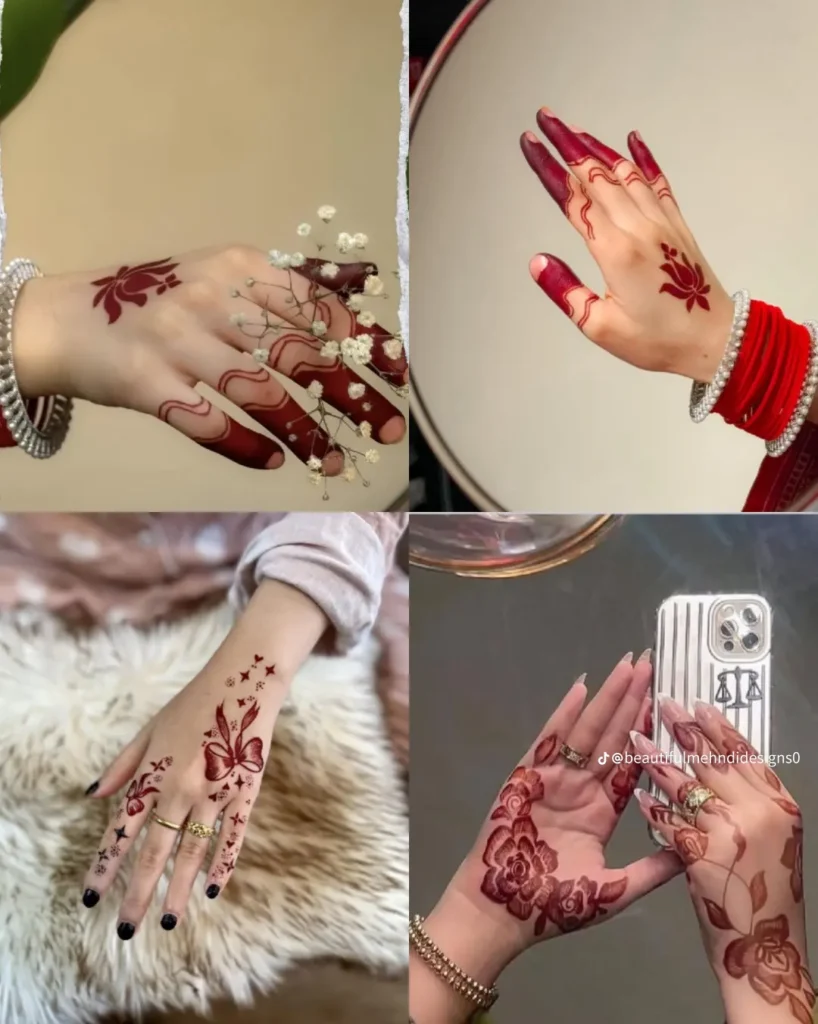
Floral Motifs
Flowers are the foundation of most mehndi designs. Start with:
- Simple open flowers
- Small buds
- Leaves and vines
Connecting these elements creates a complete look.
Geometric Patterns
Straight lines, triangles, dots, and mandala-inspired shapes are modern, stylish, and easier than they look.
Minimalist Designs
Sometimes less is more. A single vine on the side of the hand or a thin wrist band can look incredibly elegant.
Easy Mehndi Design Ideas for Every Area
For Fingers
The perfect place to start:
- Ring-style bands around the finger
- Small dots, crosses, or lines
- One tiny flower or spiral on a fingertip
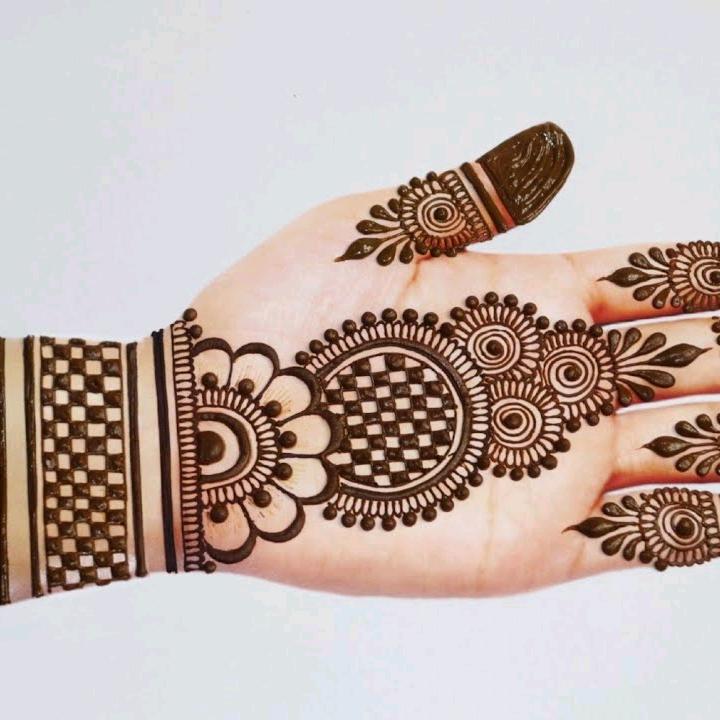
For the Front of the Hand
Start with a focal point:
- A medium-sized flower or mandala in the center of the palm
- Extend with a simple vine toward the fingers
- Add small leaves or dots along the way
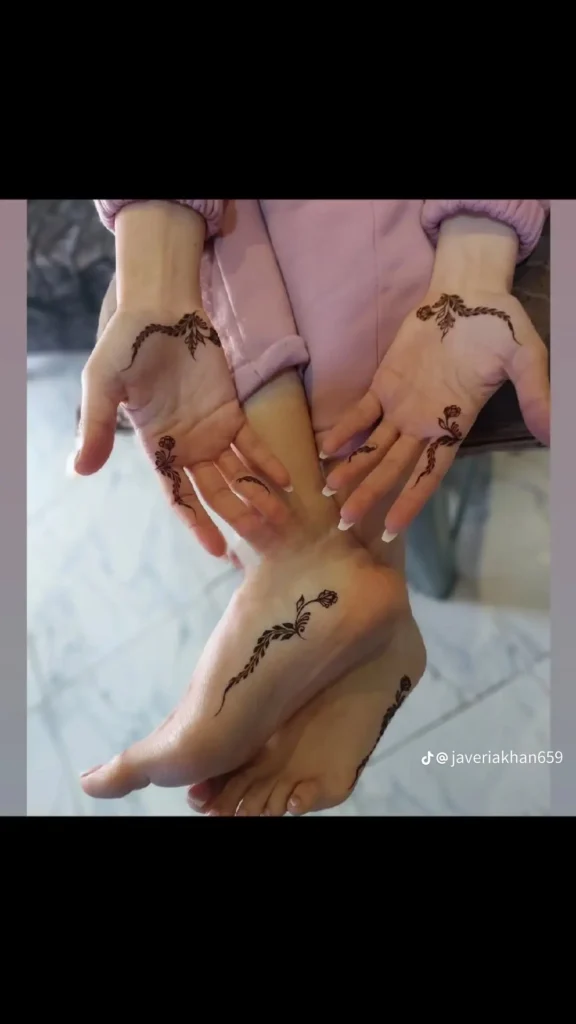
For the Back of the Hand
A graceful option is:
- A single trail of leaves or paisleys starting from the wrist
- Moving upward toward the fingers
You don’t need to fill the entire hand for it to look complete and elegant.
Helpful Tips for Success
- Patience Is Key
Let the design dry completely (1–2 hours). Keep the paste on for 4–6 hours for a darker stain. - Proper Aftercare
After removing the paste, avoid washing the area for 12–24 hours. Apply a light natural oil (like coconut or olive oil) to protect the stain. - Embrace Imperfection
Your first designs won’t be perfect—and that’s okay. Mehndi is hand-made art, and its beauty lies in its uniqueness.
Your Next Step in the Mehndi Journey
The world of mehndi is joyful and limitless. Start with simple patterns that appeal to you, practice basic shapes regularly, and most importantly—have fun.
With time, you’ll develop your own style and create beautiful designs for yourself, friends, and family.
Frequently Asked Questions (FAQs)
Q: What is the easiest mehndi design for beginners?
A: Designs based on dots, lines, and simple leaves are the easiest. A line of leaves or dot patterns is a great starting point.
Q: How can I make my mehndi stain darker?
A: Keep the paste on for 6–8 hours, apply a lemon-sugar mix, and keep the area warm while drying.
Q: Can I really learn mehndi at home?
A: Absolutely! Many skilled mehndi artists are self-taught. With good henna and consistent practice, you can learn from home.
Q: How do I fix mistakes while applying henna?
A: Use a cotton bud dipped in water to gently remove wet paste. Let the area dry, then reapply.
Q: How long does mehndi last?
A: With proper aftercare, mehndi usually lasts 1–2 weeks on the hands, fading naturally over time.